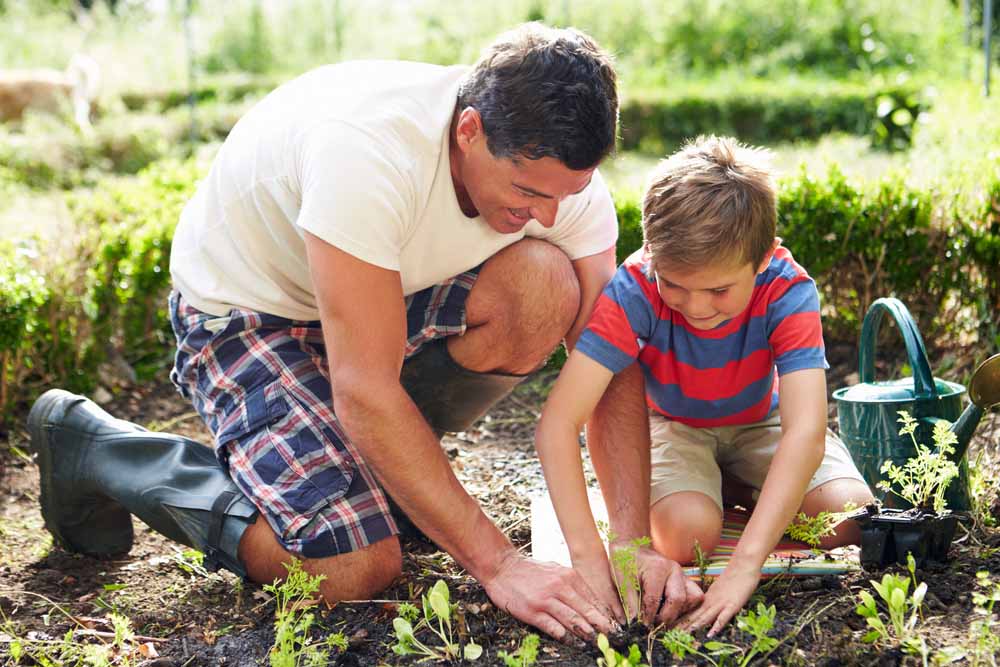
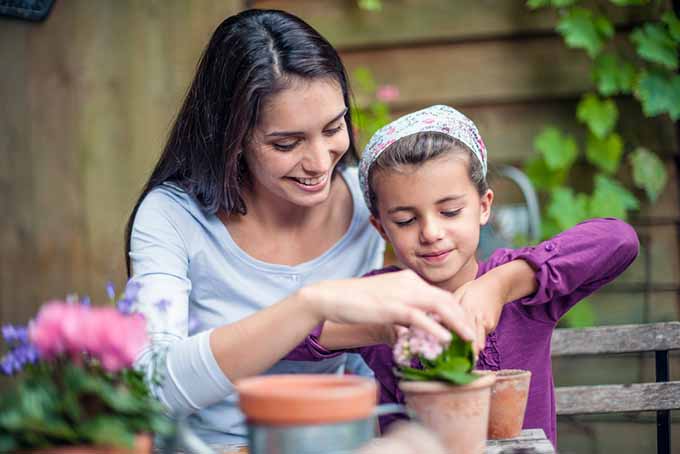
Gardening with children is great fun and you can begin in any month of the year. From planning and craft-making to planting and harvesting, you can treat your kids to fun activities any time!
When my daughter was small, we had a raised vegetable bed with a few tomato plants, peppers, and beans.
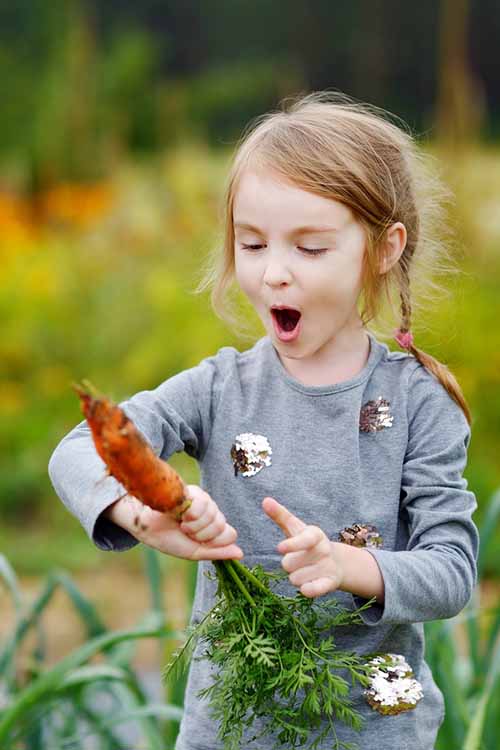
When our first green pepper was ready to pick, a crow swooped down and snatched it – pepper, plant, roots – and flew off, leaving my little gardener open-mouthed and wide-eyed.
Whether you have a few clay pots on a patio or an acre out back, gardening is amazing and your kids are going to love it!
Supplies
I’m a fan of keeping things simple. While it’s cute to get the pink and purple watering can with the daisy spout, an old plastic iced-tea pitcher works just as well.
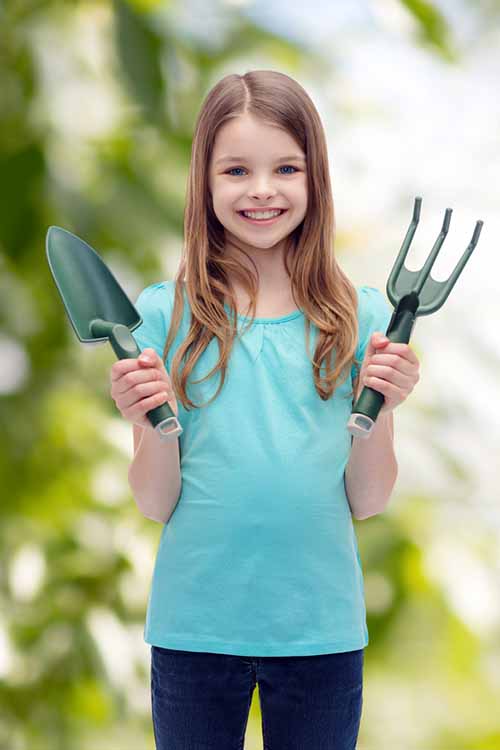
Below is a list of supplies I’ve found useful in gardening with the kids in my family. Make it fun to gather them up with the activity below. And don’t forget the camera to capture the fun times ahead!
Gardening Supplies Scavenger Hunt Kids’ Activity
1. Parent decides what supplies are necessary and how many to have for each child.
2. Parent hides supplies around the yard.
3. Each child is given a list of the items hidden.
4. Child who finds the most items is awarded a prize related to gardening, like a new hat or pair of gloves.
5. Have kids note what they did today on their own calendar. Noting each activity creates a handy reference for next year.
Supply Ideas
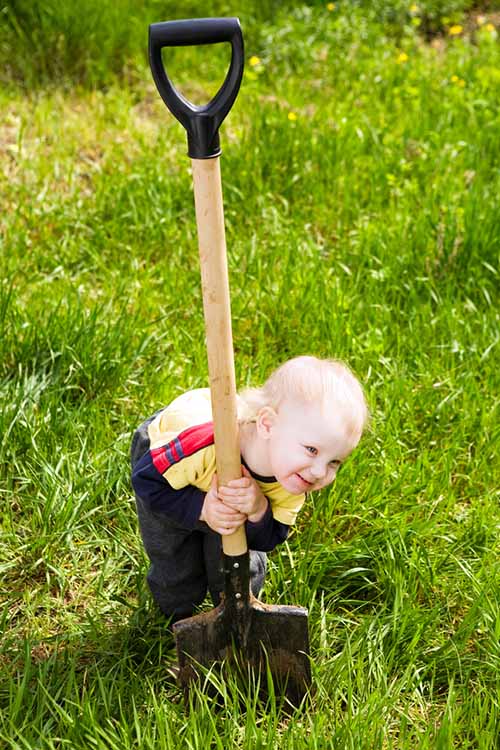
- Long-handled digging shovels
- Garden rakes
- Hoes and long-handled cultivators
- Small trowels
- Small claw/cultivator tool for breaking up clods of soil and loosening weeds
- Tape measures
- Craft scissors (or pruners, with adult assistance)
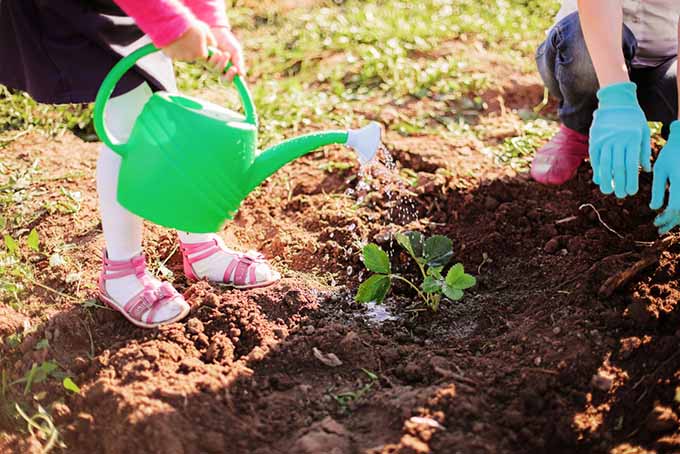
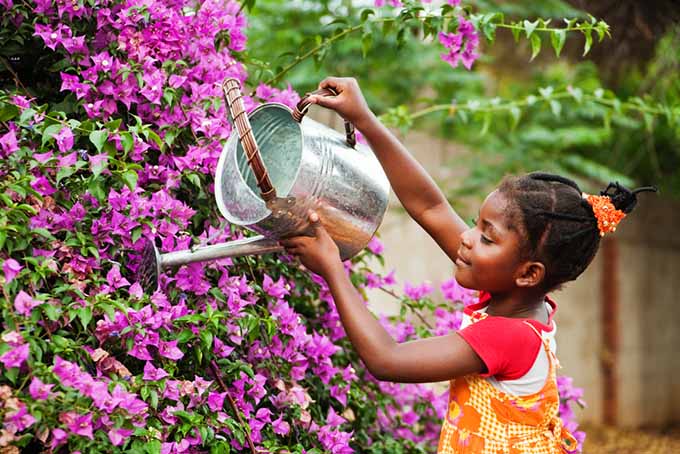
- Watering cans
- String
- Wooden craft sticks
- Plastic baskets
- Kneeling towels/pads (optional)
- Hats, sunscreen, and sunglasses
- Calendar
- Notebooks, pencils, and permanent markers
- Seed packets
Where Should Our Garden Grow?
Are you ready to jump into gardening with the kids? Great!
Plants love sun, so our first job is to find the sunniest patch of dirt in the yard.

Sun Spotting Kids’ Activity
Plan to play at home today!
1. Go into the yard in the morning with a notebook and pencil.
2. Give each child an area of the yard to watch. Make sure each area that’s assigned can conceivably be made into a garden if it’s chosen. This means soil to dig that’s not in a high traffic area, and a water source nearby.
3. Have each child write down the time, and whether or not the sun is shining onto his area.
4. Set a timer for 30 minutes and have the kids write down whether the sun is still shining in their location.
For example:
9 a.m. – sun shining near kitchen window
9:30 a.m. – sun still shining near kitchen window
5. Repeat this process throughout the day, until there’s no more sun in the yard.
6. Have the kids add up the number of hours their area was in sunshine.
7. Next, have the kids vote on the best location. If your little one is an only child, or the other kids aren’t big enough to participate yet, that’s okay! Talk it out, weighing the pros and cons of the various areas your child monitors.
8. Note activity on the gardening calendar.
Six or more hours of direct sunlight is called full sun. This is ideal.
Three to six hours is called partial shade, and is still very good.
If you have fewer than three hours in one place, consider container gardening in pots on wheeled bases. Moving them around during the day will give them adequate sunlight.
If your yard or patio is in complete shade, don’t despair! There are lovely shade plants that you can grow with your kids as well.
How Large Should a Garden Be?
Once the kids have chosen the perfect spot to make a garden, help them decide how big it should be. Did you know that in one square foot you can grow four heads of lettuce, one pepper plant, or 16 radishes?
Here’s a good rule of thumb:
A garden plot should be no deeper than twice the length of your arm. This means that no matter where the kids stand, they can reach the middle of the garden.

Kids’ Measuring & Marking Activity
Option 1 – Square Bed
1. Using a tape measure, string, and wooden craft sticks, mark off an area 4 feet by 4 feet. There should be a clearance of at least two feet around all four sides of the plot for walking
2. Have each child stand at the edge of the plot and reach toward the center with an outstretched arm. If a child can’t reach the center, the plot should be made smaller.
3. Note activity on calendar.
This bed is great for any plants and seeds you may want to sow.
Option 2 – Round Bed
1. Using a tape measure, string, and wooden craft sticks, make a 4-foot circle. There should be at least two feet of clearance around the circle for walking.
2. Have each child stand at the edge of the plot and reach toward the center with an outstretched arm. If a child can’t reach the center, the circle should be made smaller.
3. Note activity on calendar.
This bed is also a terrific all-purpose bed, but is absolutely perfect for growing the pizza garden that we’ll describe shortly!
Diggin’ in the Dirt
Did you know that when kids dig in the dirt, it’s not just fun, but very healthy?
Soil contains healthy bacteria, parasites, and viruses that can help build the immune systems of growing children. And not only that, it can elevate their mood, and reduce stress and anxiety.
Speaking of dirt, it’s next on our list, so here we go!
Preparing the Beds
Once you’ve chosen the location for your garden and marked it off, it’s time to dig up that dirt to get it ready for planting.

Kids’ Bed Digging Activity

1. Using their rakes, hoes, and shovels, have children remove grass and weeds. Set them aside for possible compost later, or use clumps of grass with roots attached to restore bare patches in your lawn.
2. Consider double-digging, and do your best to help kids to prepare soil that is free of rocks, weeds, grass, roots, and debris.
3. Note activity on calendar.
Soil Science
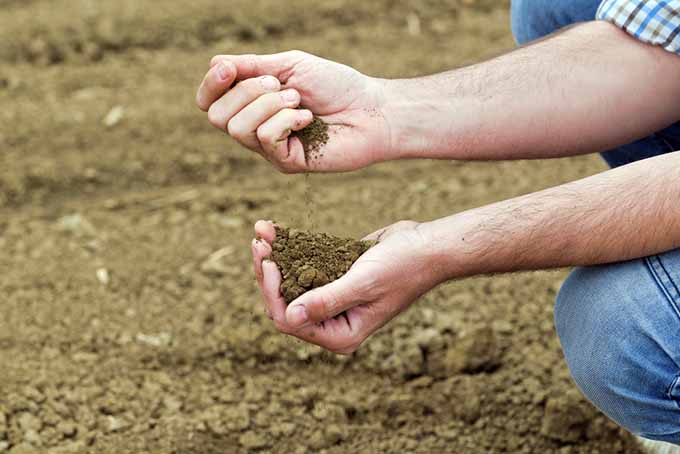
Now examine your soil. Feel it between your fingers.
Is it orange and slick? Is it sandy and thin? Is it rich and dark?
Are there earthworms wriggling in the dirt?

Worms are a good indicator that your soil has lots of rich organic matter in it, and that’s good news for plants!
Teach your younger kids all about these fascinating underground critters with Earthworms, a book by Claire Llewellyn that’s available on Amazon.
Knowing a bit about your soil’s characteristics will help you to know how to add organic material to make it ready for planting.
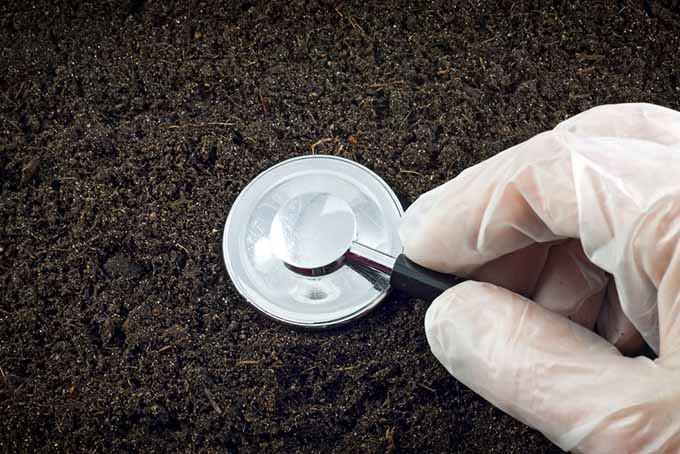
You can learn a lot about your soil with a home test kit, to check the acidity and composition of your soil. An even better option is to send a sample to your local extension office.
You can also try some DIY tests like this one from University of Wisconsin, Madison, soil scientist John Parsen, called the Ribbon Test:
Moisten a handful of soil to putty-like consistency. Gently squeeze it between your fingers, creating a “ribbon” of dirt. If the soil is too gritty to hold a shape, it’s sandy. If the ribbon breaks after reaching a length of 1 to 2 inches, your soil is loamy, or evenly proportioned with sand, silt, and clay. That’s perfect for most garden plants. If the ribbon reaches 2.5 inches or longer, it’s clayey.
Parsen says that adding compost to sandy or clayey soil will create a healthier loam over time.
Kids’ Soil Acidity Activity
Give the kids a little chemistry lesson by testing the reaction of your soil to an acid (vinegar), and a base (baking soda). You may want to try this yourself first, because a neutral reaction isn’t very exciting!
- Two paper cups
- Soil
- Vinegar
- Baking soda
1. Put about half a cup of soil into each cup.
2. Add one tablespoon of water to the soil in each, and stir.
3. To the first cup, add one teaspoon of vinegar. Watch the reaction.
4. To the second cup, add one teaspoon of baking soda, and a little water if necessary. Watch.
If the soil with vinegar added bubbles, it is on the more alkaline side, or sweet.
If the soil with baking soda added bubbles, your soil is more acidic, or sour.
If nothing happens to either, your soil is neutral.
The good news is that adding organic matter helps to even out soil’s pH balance.
Note: There should be no chemical amendments in a children’s garden.
Soil Amendment Kids’ Activity
1. Using garden rakes, have children work 2 to 3 inches of organic material like compost and mulch into their garden soil. If you have used the double-digging method, you will do this before you replace the topsoil.
2. Note activity on calendar
An Idea to Keep in Mind for Next Year
Not a fan of digging?
Have I got a gardening secret for you! It’s called no-till or lasagna gardening, and there’s no digging involved.
Instead, you put a layer of newspaper or cardboard right over the grass and wet it. From here, you alternate layers of organic material like grass clippings, leaves, and kitchen scraps along with more paper.
Over six months to a year, the materials in a lasagna garden bed decompose and blend into a robust soil that is rich in nutrients, resists weeds, and has excellent moisture retention.
Lasagna gardening is not recommended when the subsoil is compacted. Although it does form a raised bed, roots in a raised bed must be able to penetrate the subsoil below for optimal plant development.
Time to Plant
Congratulations! Your bed is ready to plant. Now comes the fun part – choosing seeds and/or plants.
If you don’t usually take the kids to the grocery store or farmers market, now’s the time to start. They need to see a variety of vegetables and herbs and try them at home to see what they want to grow in their very own garden.
Talk with them about their favorite foods and the fresh ingredients that go into them. If they love spaghetti, talk about growing tomatoes and basil for wonderful homemade sauce.
Are they salad eaters? Think lettuce, carrots, cucumbers, and parsley.
Do they love tacos? Then peppers, tomatoes, lettuce, garlic, onions, and cilantro would make a great garden.
But my all-time favorite is the pizza-themed garden in Gardening with Children, by Beth Richardson.
This excellent book is available on Amazon.
Grown in a circular plot with pizza-shaped wedges containing each ingredient, it consists of things like peppers, tomatoes, garlic, oregano, basil, and onions.
When your curious little ones ask where the crust and cheese will grow, you may want to plan a trip to a dairy and a gristmill to round out the experience!
If it’s early in the growing season where you are, there may still be time to sow seeds. If not, hardy plants from your local garden center or nursery are just what you need. Don’t hesitate to consult professionals for advice on selection and growing.
Are you ready to design your garden? Then let’s get to the garden center to learn about plants.
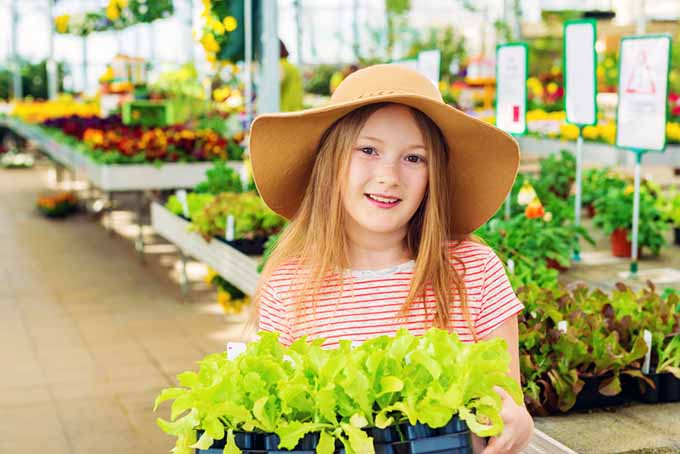
Kids’ Garden Center Activity
1. Grab notebooks and pencils and head to the garden center.
2. Assign children a number of plants (or seeds) to research.
3. Use the following list as a guide for easy-to-grow suggestions.
4. Note activity on calendar.
Sources of Information
There is a wide array of plants in a garden center. Well-marked aisles will direct you to:
Annuals
Annual plants have one growing season. They die off completely and won’t come up again next year. Most vegetables and many flowers fall into this category. Examples are zucchini and marigolds.
Perennials
Mostly flowers and some vegetables, perennials come up year after year, because their root system remains intact after the growing season ends. Examples include coreopsis and garlic.
Biennials
Some vegetables and flowers take two growing seasons to go from seed to flower. In the first year they grow structurally, and in the second, they bloom. Some common ones are onions and black-eyed Susans.
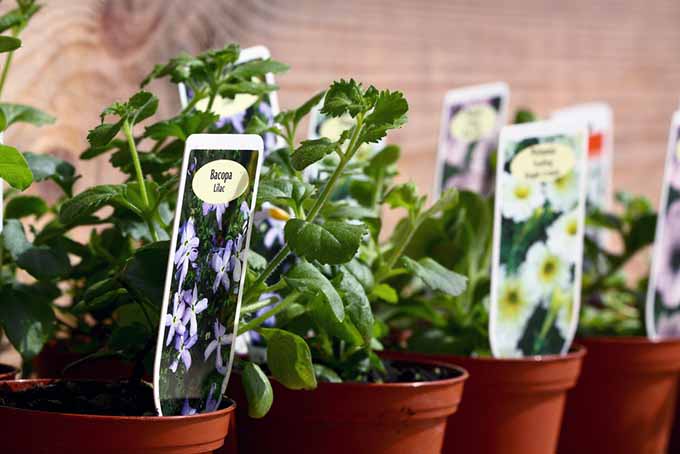
Potted flowers, vegetables, and herbs are tagged with information on when to plant, sun requirements, how to care for, and when to expect maturity.
Look for plants that appear to be healthy. This means:
- No wilted or yellow leaves
- Upright, sturdy stems
- Moist, rich soil
- No roots peeking out the bottom of the pot
Seed packets contain similar information. A colorful photo or illustration shows how the plant should look. Instructions usually say to start indoors or wait until all danger of frost has past, and include the same growing info as above.
Did you know that seed packets are dated? Be sure to pick varieties that were packed for the current growing season.
Garden center staff are our friends!
Don’t hesitate to help your children ask questions and learn new things. Remember – this is an adventure!
Vegetables for Full Sun
Vegetables for Partial Shade
Flowers for Full Sun
Flowers for Partial Shade
Help each child choose several plants that interest him, and have him write down the following:
1. Name – ie. “Raven” zucchini
2. Appearance – ie. what does a fully grown cucumber look like?
3. Size – how wide and how tall will this plant get? Is it a bush or a vine?
4. When to plant – is it too late for seeds?
5. Sun, soil, and water needs – is your yard full sun or partial shade?
6. Germination time – how long until kids can pick flowers and herbs, or harvest veggies?
If the kids can’t find everything they need to know, go online and do some research. Or, if you have your cell phone handy, use The Garden Compass App. Just snap a photo of any plant and everything you need to know is at your fingertips.
An Idea to Keep in Mind for Next Year
It may be too late for this year, but for next year, consider having some seed catalogs sent to your home. They’re fun to look at in the winter, when summer’s garden is still a daydream beneath the snow.
One of my favorites is The Rare Seed Catalog from Baker Creek Seeds, with heirloom varieties like blue tomatoes and red sunflowers.
Are you still with me? The real fun is about to start!
Less is More
Gardeners beware – over-planting is a common mistake first-timers often make.
Once you know what the kids want to plant, look at the plot you’ve prepared and see how it’s all going to lay out.
Spatial Orientation Kids’ Activity
1. Have the kids take their notebooks to the plot you’ve prepared together in the yard.
2. Using information like “space 18 inches apart,” have them use their tape measure as a team to decide how many of their favorite plants, herbs, and flowers will fit in their garden.
3. If making the pizza garden, use the diagram in the noted resource as a guide.
4. Note activity on calendar.
Your goal is garden harmony, with every plant getting enough sun, water, and nutrients to produce lovely flowers, veggies, and herbs to delight the young ones in your life.
As a matter of fact, did you know that there are certain plants that actually complement one another in the garden?
Companion Planting
According to the folks at Burpee, planting flowers and herbs between your vegetables is beneficial. Here are some veggie, herb, and flower combinations that work well to enrich the plants and help to deter insects:
- Beans, carrots, and cucumbers + rosemary + marigolds and nasturtiums
- Lettuce, cabbages, and carrots + chives and garlic
- Tomatoes + basil, chives, and mint + bee balm
Have you heard of The Three Sisters? Your kids will love this companion planting arrangement.
In Native American lore, planting corn, beans, and squash together creates a mutually beneficial grouping that brings out the best crop of each vegetable. The corn supports the beans, which in turn release nitrogen that nourishes the corn. The squash produces large leaves that shade the soil to retain moisture and inhibit weed growth.
Some gardeners introduce sunflowers into the mix for additional support.
With what you now know about how your kids’ favorites will lay out, and what plants grow well together, it’s time to go back to the garden center and buy plants and seeds for your children’s garden.

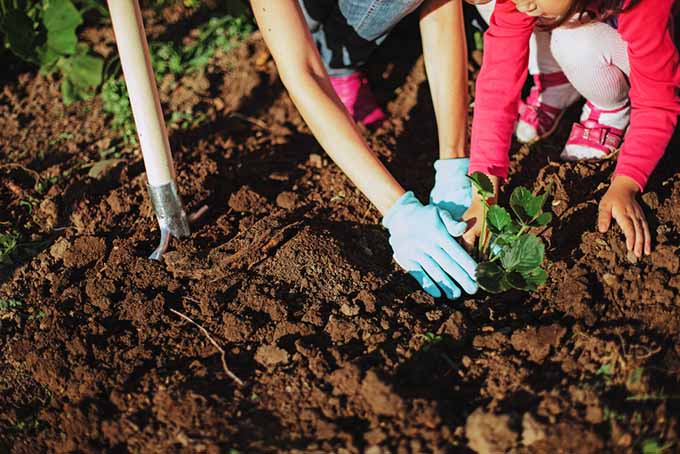
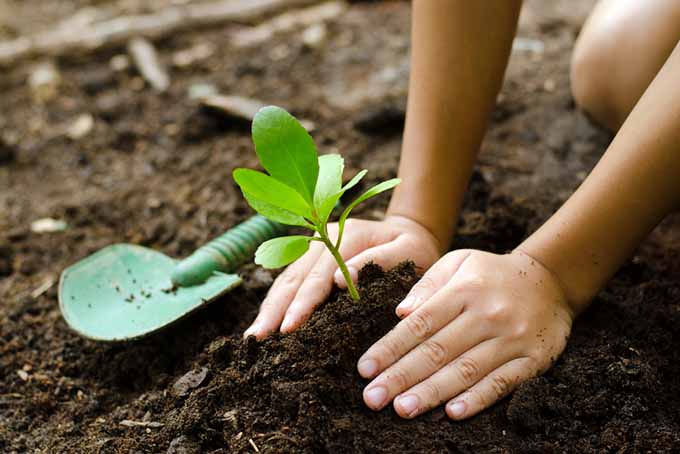
Planting Activity for Kids
1. Plant in the morning, when the sun’s rays are weakest.
2. Using garden rakes and hoes, loosen soil and remove any weeds that have taken root since the plot was dug.
3. Weeds that have not gone to seed may be used as compost.
4. Seeds and plants are to be placed into soil that is so loose and workable that a hole can be made with the hands, without the use of a trowel.
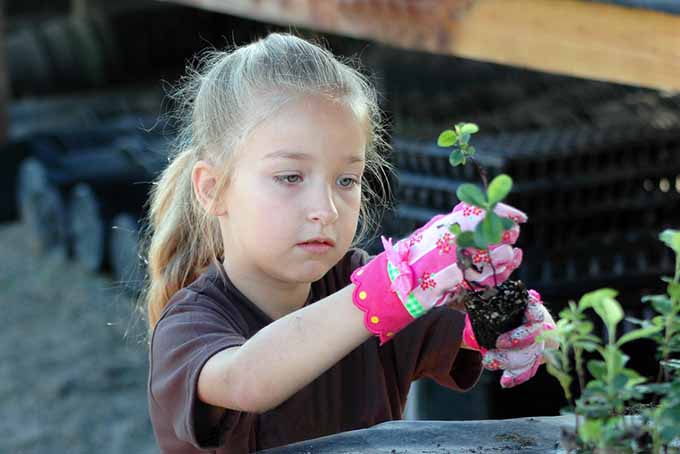
5. Using their small trowels, and optional kneeling pads, teach children to gently tap the sides and bottom of pots to loosen the seedlings.
6. Sow seeds according to the depth on package instructions.
7. Plant seedlings carefully, and firmly but gently tamp down the soil around each.
8. Using wooden craft sticks and permanent markers, write the name of each plant on a stick and place near that type of plant for identification.
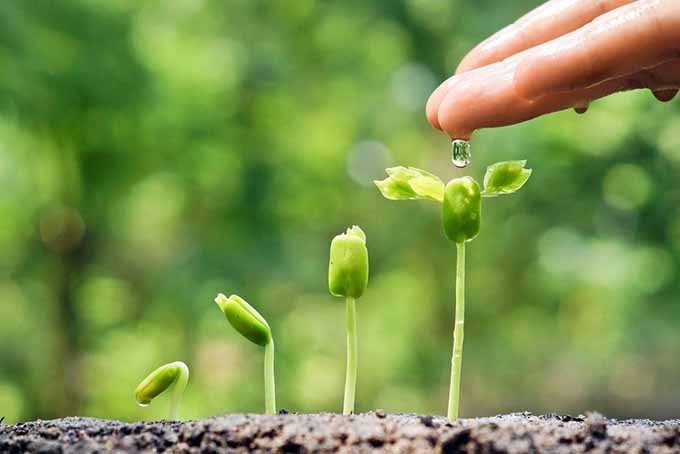
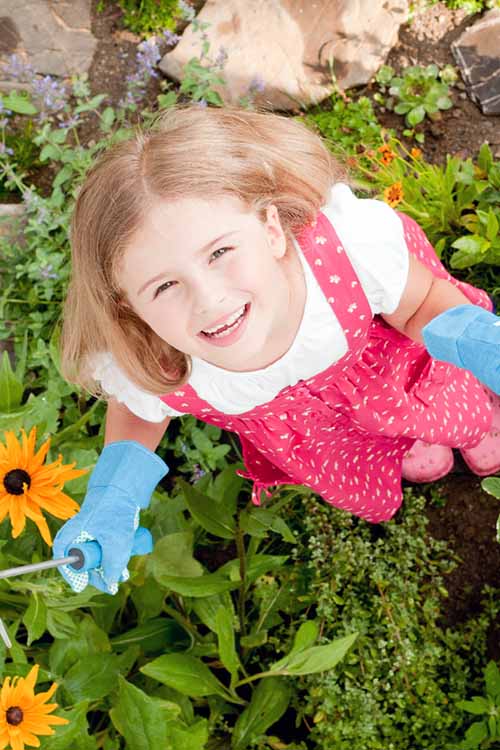
9. When all seeds/plants have been sown, water plants lightly at the roots with either a garden hose or watering can. You want moist soil, not puddles.
10. Note date of planting on calendar.
11. Hooray! You and your kids have planted a garden!
Harmony in the Ranks
Even more important than happy plants is happy kids.
Gardening is loads of fun when it’s about buying plants, but maybe not so much when there’s only one red shovel and it’s 99°F outside.
One way to ensure a good measure of joy on the back forty is to have an ample supply of tools.
Another is to assign duties on a rotating basis.
A healthy dose of praise for milestones achieved does wonders, too.
Remember: show enthusiasm! Treat garden responsibilities as privileges, not chores, and be on the lookout for awesome discoveries!
You’re on Your Own
Also remember that what looks like work to adults is usually fun for kids – and kids love to take turns at doing new things. They also love titles and being trusted.
Assemble your young gardening team with the following rotating assignments:
Plant Doctor – looks at the plants to see if they have bugs on them, are wilted, yellow, or in distress in any other way.
Water Manager – goes out each morning to put his finger deep into the soil near each type of plant. If it’s not moist, watering is needed.
Watering Deputy – upon instruction from the WM, he gently waters plants at their roots before the sun heats up the garden for the day. In the event of extreme heat, may receive instructions to water again in the cool of the evening.
Weather Watcher – listens to the forecast for the day. Maybe it’s going to be extremely hot, and an evening water check may be needed.
Weed Controller – is familiar with what his plants look like, and removes weeds as soon as they appear. I like to wear gardening gloves to pull stubborn, prickly weeds.
Pest Controller – in the morning or early evening, looks for signs of insects like holes in leaves. Wearing gloves, removes insects from plants by hand, or uses a gentle spray of water from a hose or watering can to wash them away.
Note: Again, there should be no chemical pesticides in a children’s garden.
Harvest Herald – announces to the family any new blossom or vegetable, so that it may be celebrated by all!
Minds of Their Own
Plants take time to grow. It seems as if they do nothing forever, and then all of a sudden they take off!
We have a big patch of zucchini in our yard this year. We were lucky and had the perfect combo of sun and rain, and almost overnight we had giant green leaves. Their undersides are fuzzy and prickly, and they shade the ground below them, which means NO WEEDS!
Imagine our excitement when we gently lifted a leaf last week to find an orange-yellow blossom! This week, there are 15 shriveled blooms, and beneath each is an adorable baby squash.
Beside the zucchini are several bush beans, covered in small white flowers that are giving way to itty-bitty string beans. They’re way behind the zucchini, but ahead of the tomatoes, which are just now beginning to flower.
To Stake, or Not to Stake
With minds of their own, plants can sometimes take off to mammoth proportions to the delight of kids, but to the alarm of parents!
Having researched your kids’ plants, you’ll have a pretty good idea of the sizes to which you expect them to grow. While many bush-type plants like beans are able to support their own weight, other plants may need help to stand tall.
Consider growing tomato plants in wire cages, and staking any plant that begins to bend under its own weight.
Kids’ Plant Care and Progress Activity
1. Using their calendar, notebooks, and pencils, help kids to keep a diary of how they are taking care of their plants, and how the plants are developing. Note things like weather conditions, watering requirements, weeding needed, and pests discovered and removed.
2. Keeping track of accomplishments is a great source of self-esteem that helps kids to become confident and responsible.
3. Have children document when each plant reaches maturity.
4. For flowers, this is when the first bloom arrives.
5. For veggies, note the first blossom and the first visible vegetable.
6. Remember to take pictures of the milestones your kids and their plants are sharing!
An Idea to Keep in Mind for Next Year
The more you learn, the more you can teach your kids.
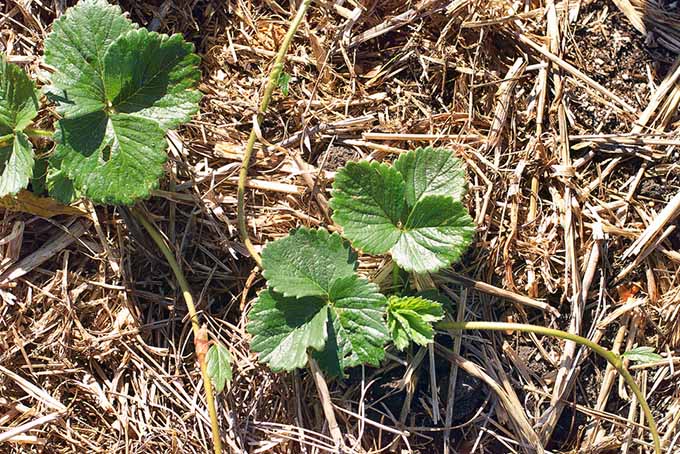
Guess what? If you sow seeds in midsummer for veggies like Swiss chard, spinach, cabbage, broccoli, and carrots, you may enjoy some before winter, and you’ll definitely have some to harvest in early spring.
According to the pros at Rodale, if you live in climate zones 6 through 9, cold-hardy crops are the ticket to extending your growing season. With a system of vinyl-covered tunnels, and the absence of warm-weather insect pests, you’ll be amazed at what your plot can produce “off season.”
A Happy Harvest
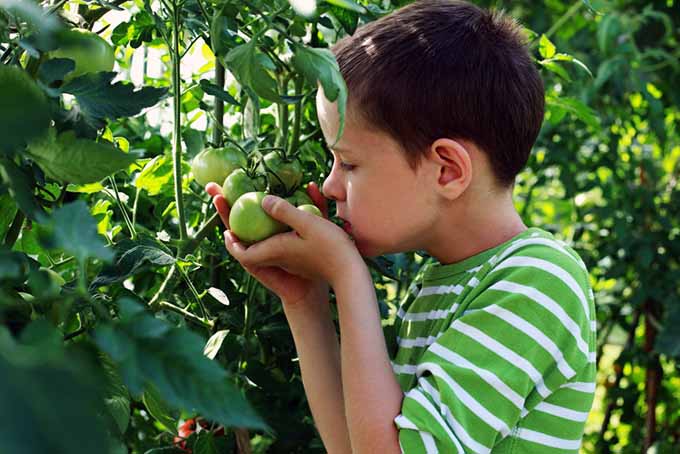
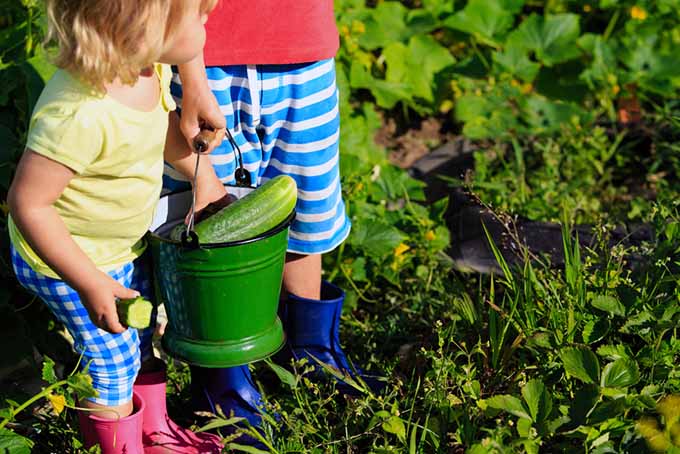
There are many helpful tips for knowing when to pick vegetables.
Did you know that squash should be young and tender, and you should be able to push your thumbnail gently into its skin?
I’m picking some glistening green zucchini for dinner. They’re about six inches long, two inches in diameter, and my nail goes into the skin easily. Yum!
Kids’ Harvest Activity
Vegetables
Help children learn that when harvesting, the plant is to remain intact, and only the vegetable is to be removed.
1. Have your child firmly, but gently, grasp the stem preceding the vegetable with one hand.
2. Have him grasp the vegetable carefully with the other hand.
3. Gently twist the vegetable until it separates from the stem. Extremely thick stems may require adult assistance with clean pruning shears.
4. Place harvested vegetables in a basket. Gently rinse outdoors before preparing to serve.
Flowers
Safety scissors may be used to cut soft-stemmed flowers to make a bouquet or table centerpiece.
Cutting flowers periodically encourages more flower growth in many varieties, as does dead-heading, the removal of spent blossoms.

Herbs
Soft herbs like parsley may be cut with clean safety scissors, and washed for garnishing salads and savory dishes. Thicker stemmed herbs like rosemary may require adult assistance with clean pruning shears.
Putting the Garden to Bed
Great job! You and the kids have a lot of stories to tell, and much to be proud of!

At the end of the growing season, when the plants are withering and the first frost is on its way, you have two choices:
You can either leave the garden alone, or clear and prep it for next season.
I sometimes leave it alone to showcase dried flowers that twist in the wind, rattling seeds in their withered pods. They not only provide “winter interest,” but attract birds to my yard until the snow flies.
In spring, I clean up by composting any remaining plant material, turn my soil, amend it, and begin anew.
If you choose to clean up at the end of the season, make make it a memorable event with the following activity .
Goodnight Garden Activity for Kids
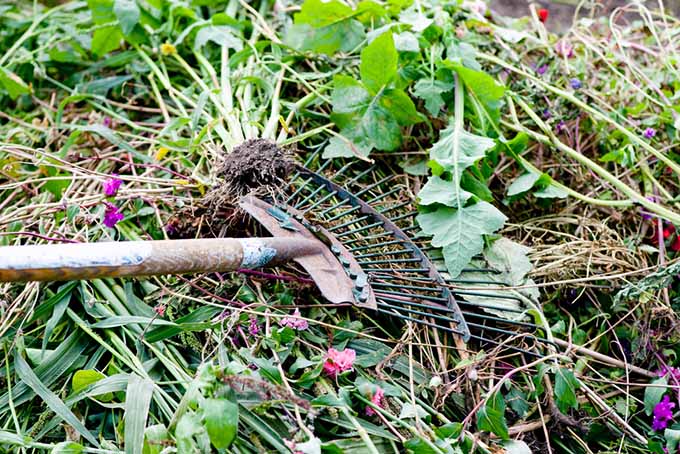
1. Using garden rakes and hoes, have kids remove all spent plant material. Take to compost pile for future use.
2. Remove any remaining popsicle stick markers.
3. Turn soil to break up clods, preserving aeration and moisture retention.
4. Wish the garden a good winter’s nap and promise to awaken it in the early spring.
Gardening Fun All Year Round
Do you dread hearing, “I’m bored,” once the weather turns too cold for play outdoors?
Why not bring the theme of gardening indoors for the winter?
I know your kids will enjoy the following activities as they wait eagerly to get their shovels into the dirt again.
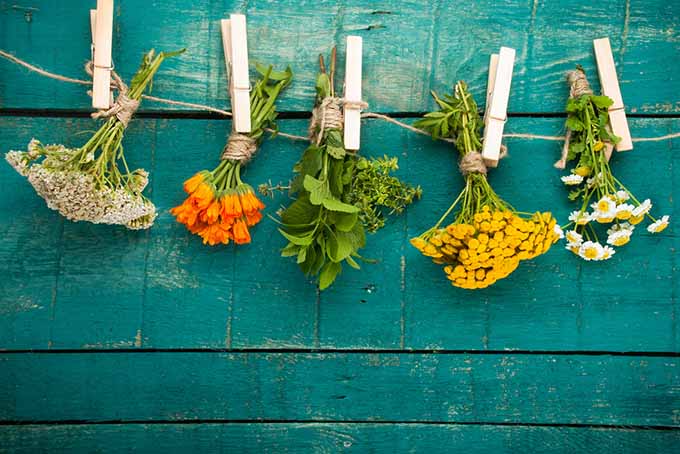
Drying Herbs
Fresh herbs are great in the summer, but how about drying them to enjoy all winter long? This article from our sister site, Foodal tells all you need to know.
Gathering Seeds
After your plants’ last hurrah, have children collect seeds to experiment with next spring. Using zipper bags and markers, bag and label the contents of each and store in a cool, dry location.
Designing Next Year’s Garden
Now that you’ve got the hang of this great hobby, have kids design the gardens of their dreams and get a jump on next year.
Browsing Seed Catalogs
Want to plan ahead? You’ll have plenty of time to start from seeds next year if you order in some catalogs and start planning while the snow’s still blanketing the backyard.
Journaling
Have the kids write and draw pictures of their gardening trials and triumphs. There’s a lot to learn out there, and getting it down on paper reinforces the memories.
You can use a simple spiral notebook, but for something a little fancier, we found seven great purpose-made gardening journals.
Scrapbooking
Remember those fabulous pictures you took during the growing season? Put them into albums with catchy captions, or frame them for friends and family. Photo collages make great additions to any décor!
Flower Arranging
Help kids to treasure the last flowers of the season with the following creative ideas.
Dried Flower Bouquets
As the nights turn chilly, the last few fresh flowers can be cut, bunched with string, and hung upside down in the garage or basement to dry. Place in vases for winter cheer.
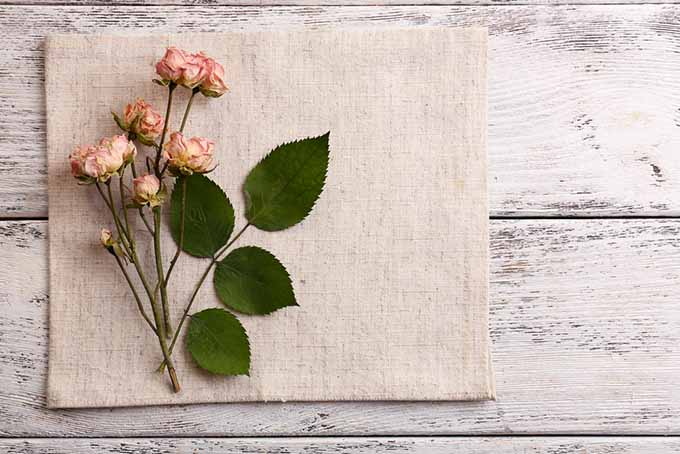
Pressed Flower Pictures
Supplies
- Fresh flower blossoms
- 2 vinyl placemats
- 4 Paper towels
- A stack of heavy books
- Construction paper
- Craft glue
- Picture frame with mat and glass*
1. Find a location that you can leave undisturbed for a week or two.
2. Lay out a vinyl placemat for surface protection. Stack two paper towels on top of the mat.
3. Arrange fresh blossoms decoratively on top of the towels.
4. Stack another two towels over the flowers, and top with a second vinyl placemat.
5. Stack heavy books on top of the paper-enclosed flowers.
6. Check in three days and change towels if damp. Repeat process until dry.
7. Flowers can be glued to paper with craft glue, and framed as gifts. (the mat in the frame keeps the glass away from the flowers.)
*Adult supervision required
Forage Collage
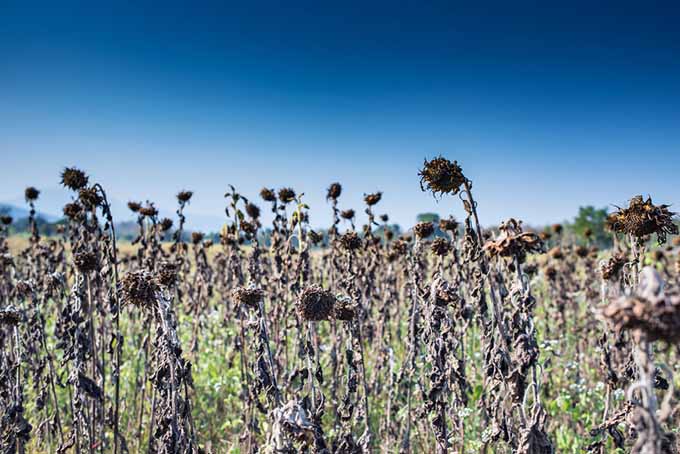
Flowers that dry on their stalks outdoors can be gathered, along with leaves, seeds, and pods to glue on paper for decorative artwork. These remaining bits and pieces have a beauty all their own.
Visiting Botanical Gardens

Visits to botanical gardens with indoor conservatories and children’s displays are another great way to awe the young gardeners at your house.
I know you’ll come up with many more fun ways to keep the spirit of gardening alive in your house all year round!
Gardeners’ Resources
Planting a few veggies that will last a season may not require a great deal of research, but as gardening with the kids progresses, you may want to include them in more extensive gardening projects.
Knowing your hardiness zone will help you to select perennial plants (they come up year after year), shrubs, and trees that will survive the winter in your area. That’s what we mean by hardiness.
You can determine your hardiness zone with an online resource like the U.S. Department of Agriculture map.
In the U.S., you can also reach out to your state’s agricultural extension service, an arm of the U.S. Department of Agriculture.
Also in the U.S. are experts called Master Gardeners, who volunteer in their communities as advisers to home gardeners. Feel free to contact them with questions.
Also, be sure to check out our guide: “11 of the Best Gardening-Themed Books for Children.”
Make gardening with your kids a year-round adventure. There’s always something fun to do, and the only thing better than coaxing life from the soil is eating what you grow.
When you’re finished playing in the dirt, don’t forget to take a break on the swings and slide! We’e reviewed the top backyard play sets for your home.
© Ask the Experts, LLC. ALL RIGHTS RESERVED. See our TOS for more details. Uncredited photos: Shutterstock.
thank you. the information is so helpful, well written and engaging. My neighbor kids moved at Christmas to a new home not far where we lived. The kids and I have gardened in my front yard path garden for several years, both started when they were 2 or so and Love working in the yard. Last summer they came over one day and begged me to find gardening they could help me with. Those angels were the push I needed to clean up the potted plants, do a bit of weeding, watering (they love to water!) and putting the debris… Read more »
I like the tip that you gave to plant things that your children will love. My wife and I have been talking about finding new things to put in our garden, and it would be important for us to know that we can find something that will encourage our children to garden. If we decide to add more stuff to our garden, I will be sure to look for something that our children will love.